Menu


First of all, we are not here to talk about microscope that you can read it in many site about something like, Light microscope, Digital microscope, biology, inverted, digital or analogue. But what we are actually talking today is the type of industrial microscope that we are commonly separate by the use of them.
The industrial microscope are sometimes separated by the use of a person, a department or a factory, due the each individual may require and use each microscope type for different purpose. So that is the reason why we differentiate by the purposes of industrial microscope into 3 main purpose
A digital microscope is a microscope that needs to be connected to PC software (some are supported via phone or tablet). The main reason that it needs to be connected is due to the purpose of measuring. The user can use it to measure length, width, curve, or even angle. Most of the time, a microscope may answer the question of measuring very small objects better, as when measuring something that tiny, it could cost some amount of resource.
Using a digital microscope for measuring will save cost, time, and other resources. As well as the saving of the captured image that is being measured for use in creating a report (Inspection sheet)
Inspecting a bunch of workpieces may take some time. The inspection microscope is the main key to solving the problem of time. The purpose of inspecting with a microscope is to seek out any defect on the workpiece, such as metal chipping, defection on a plastic object (flash, short shot, etc.), or a visual check of any object that requires just a quick look at it for defection. Faster inspection means that “Saving time and noticing problems earlier)
PS. For those who may be curious, how does it become faster when you need to inspect piece by piece and need to focus and look for each defect? Haha. Of course, a digital microscope means that it can connect to a large monitor display, and you could see much way clearer
Analysis of the data from the image after being measured or inspected. It’s called visual analysis. For any type of visual analysis, there are things that need to be considered to be able to make a complete visual analysis. The user may require a high-definition microscope (with an analysis function is preferable) and a software that can be used for measuring, inspecting, and visual analysis is also important. Without software, it’s just like having a sport car with a sedan engine.
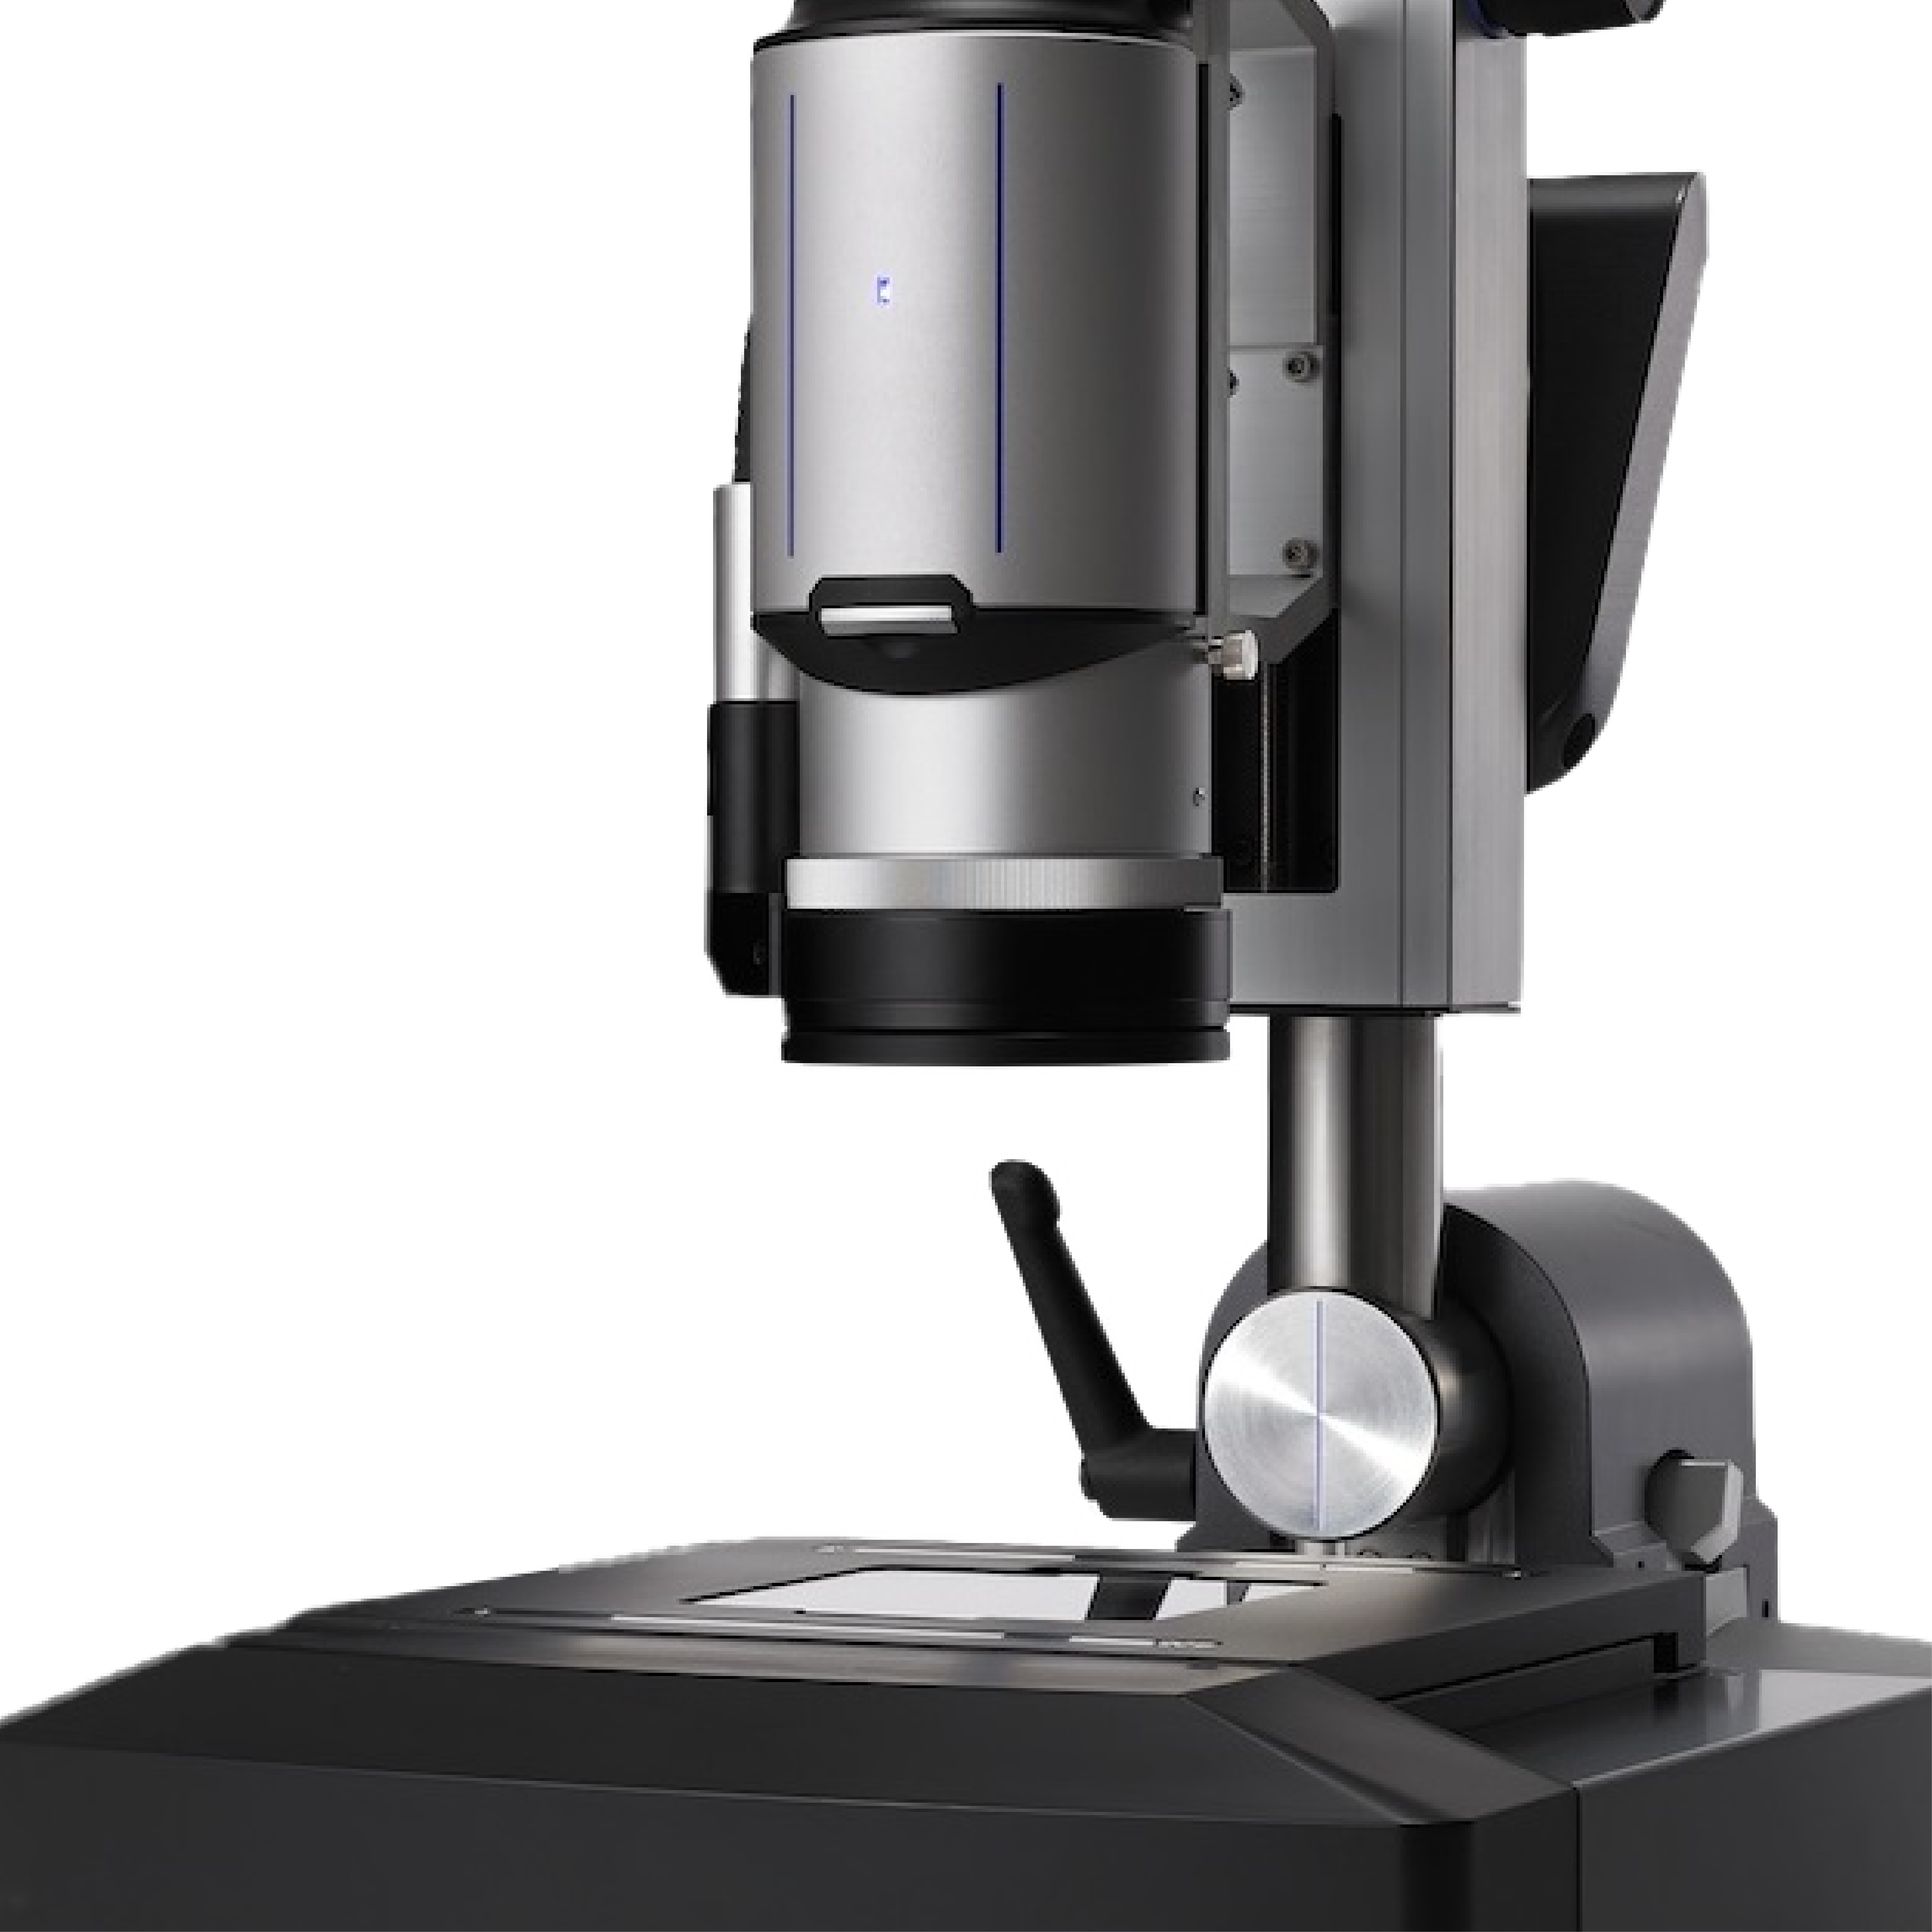
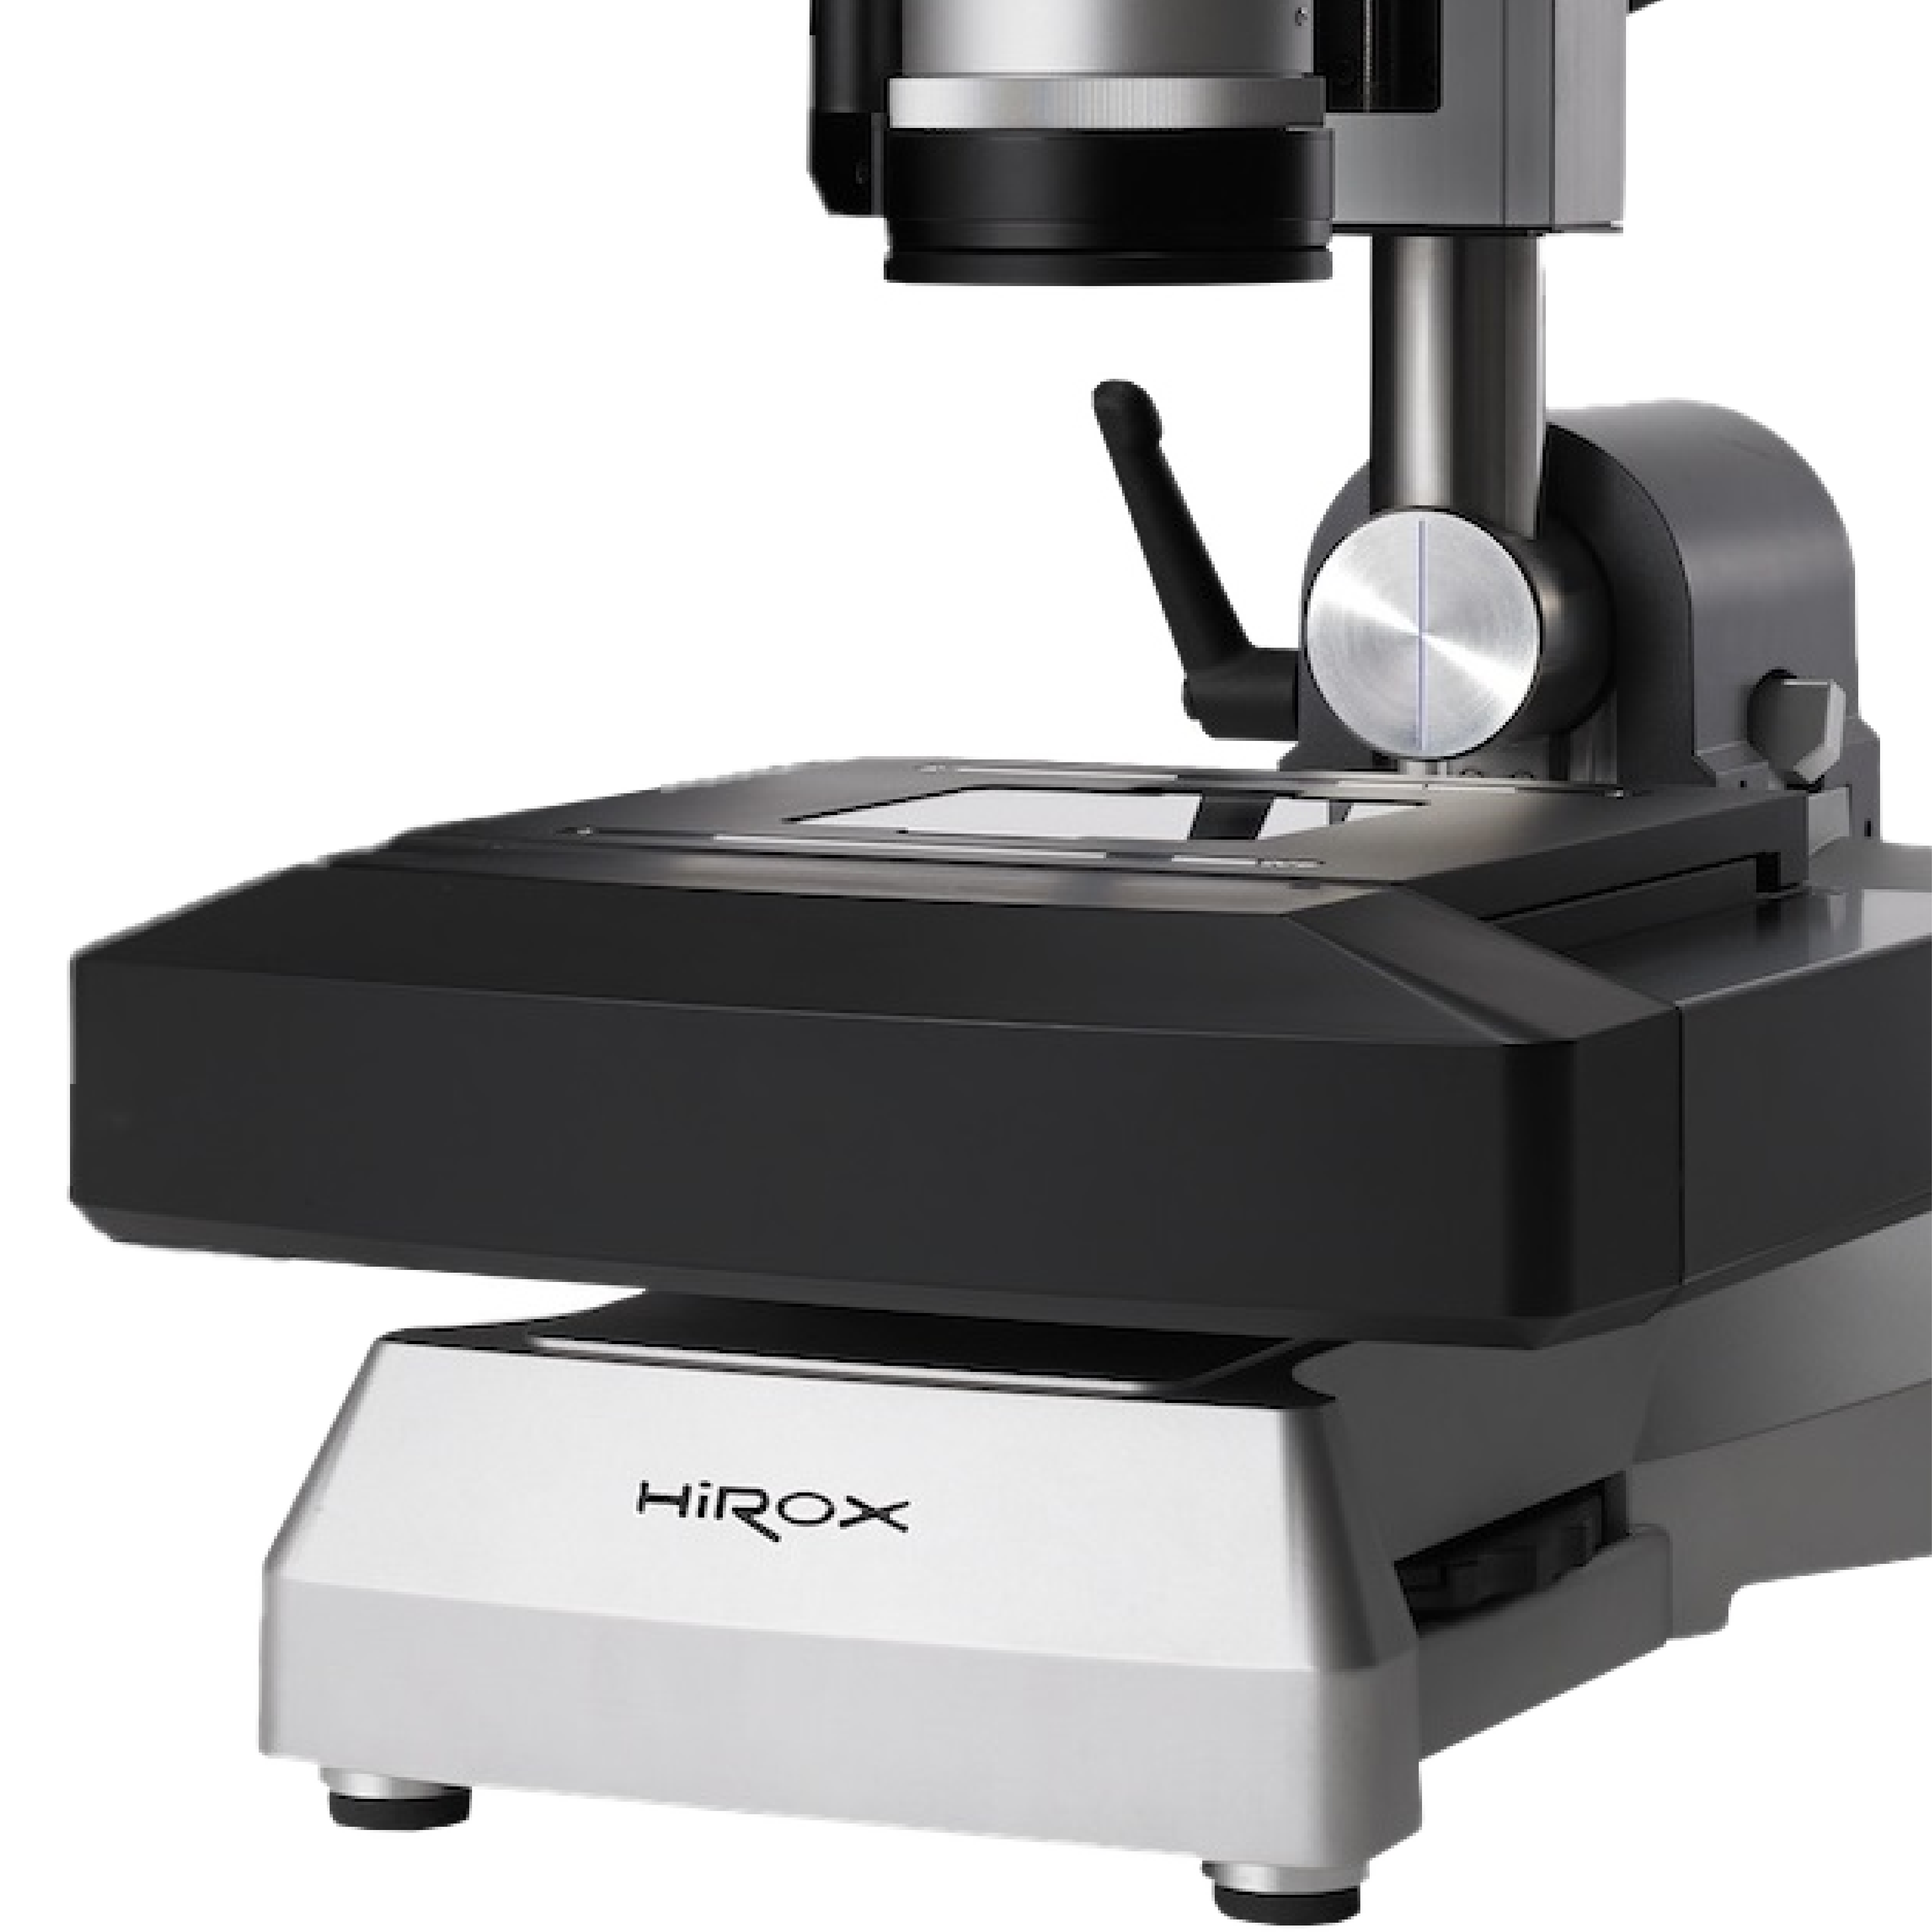
For a visual analysis and measurement from the inspected image, it’s called Image Processing such as Hirox 3D Microscope. HRX-01 : Hirox 3D Microscope is the high quality microscope and comes with additional functions and together with Hirox software, user will be able to use all functions completely with all those inspection function, 3D function and all analysis functions.
We can even call it All-in-one microscope for industry


