Menu


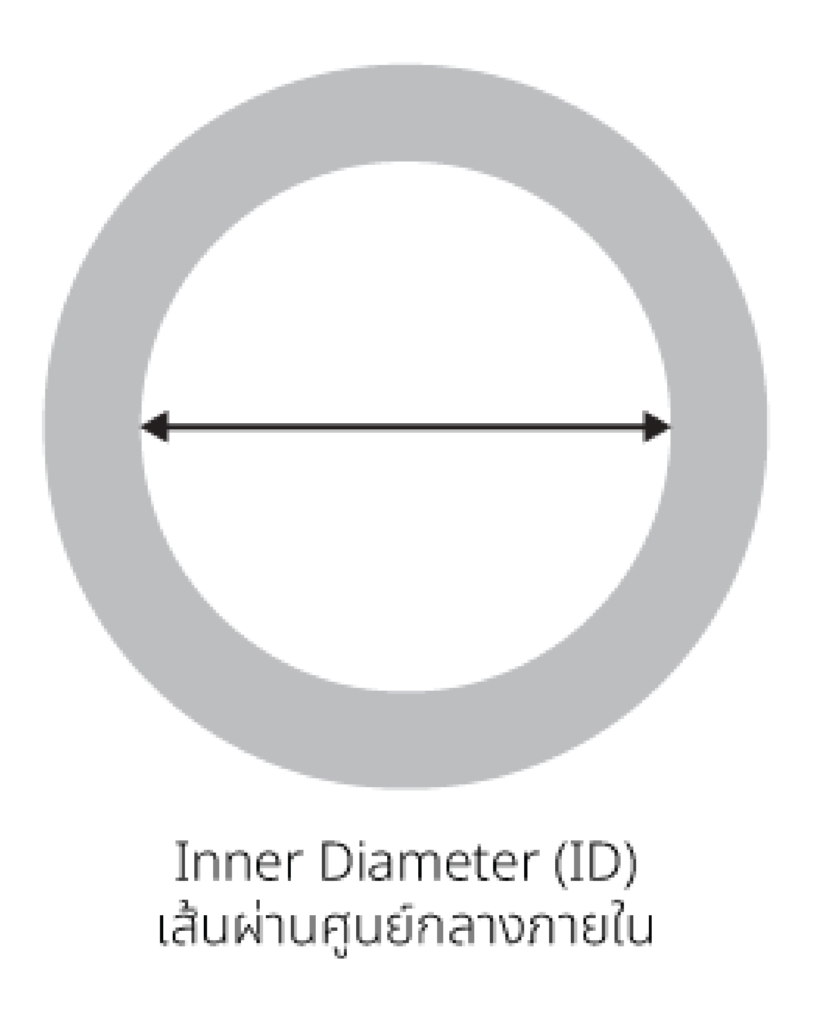
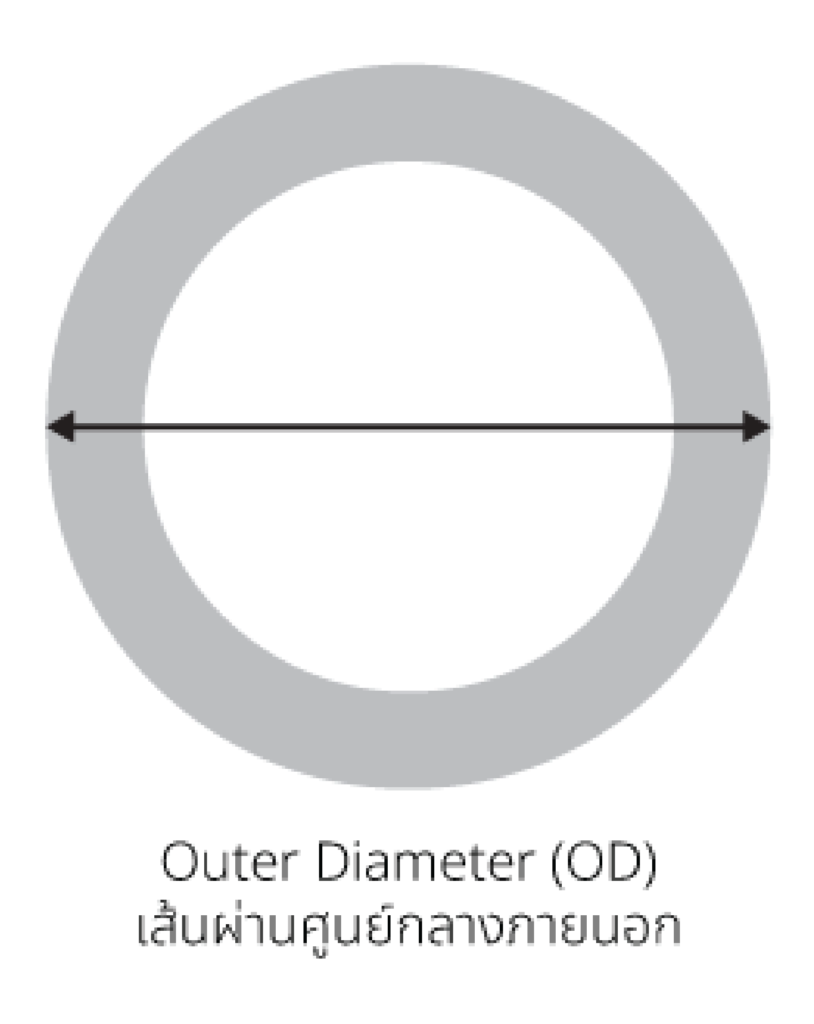
OD and ID are common abbreviations in technical documentation and verbal communication, standing for outer diameter and inner diameter respectively. These shorter forms are preferred due to space constraints in paperwork and efficiency in speech.
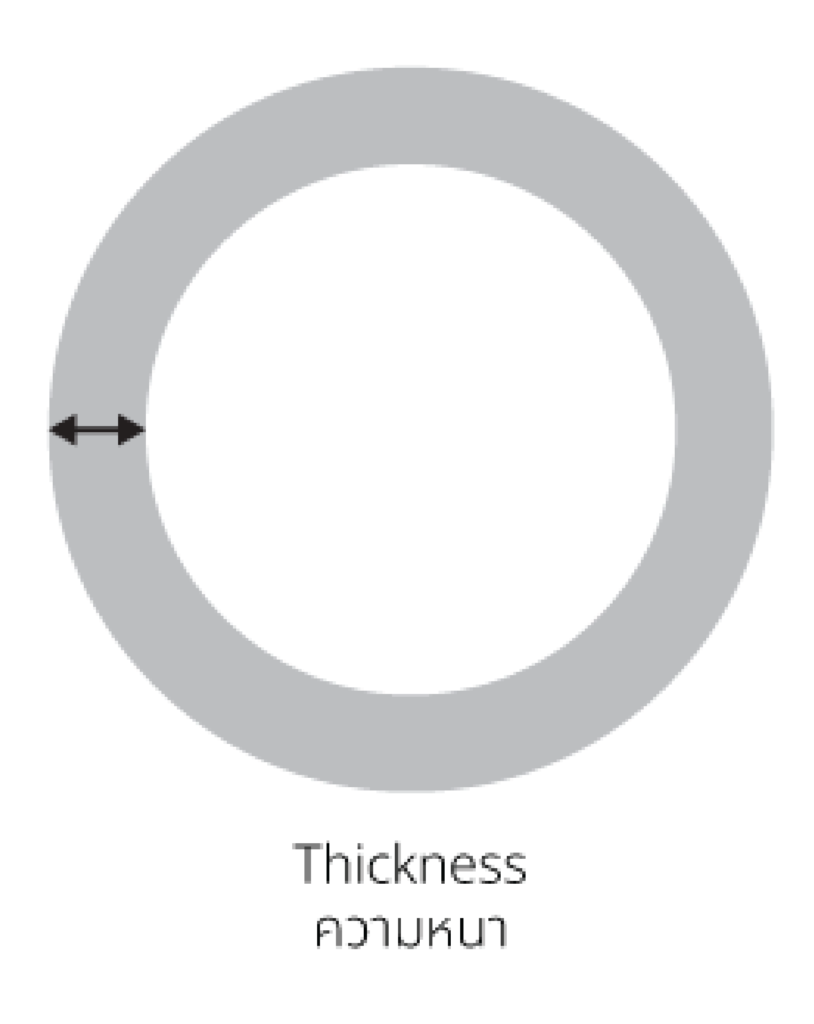
Understanding these terms is crucial. In addition to OD and ID, thickness is another important measurement. When visualizing a ring-like object, you’ll notice that thickness – the distance between the outer and inner surfaces – is a key dimension to consider alongside the diameters.

ID stands for inner diameter. The measurement of diameter that measures from the inner edge to another edge

OD stands for Outer diameter. The measurement of diameter that measures from the outer edge part to another edge

Workpiece thickness can be calculated as the difference between outer diameter (OD) and inner diameter (ID), or measured directly using tools like calipers, micrometers, air micrometers, and video measuring machines, with the choice of method depending on the specific requirements and nature of the workpiece.
*** Let’s find out how to measure ID better
If we have to say of the way of measuring OD (Outer Diameter) there would be nothing special or complexity even the general vernier caliper which will do fine in measuring also.
Or the additional tool can do just fine too like Air Micrometer that can be used to measure both of ID (Inner Diameter), OD (Outer Diameter) and Thickness